This month was one of the most expensive for fixing what broke in the history of our marriage.
- New glasses for Bob and I: $695.00
- Claus got sick and had to go to the vet: $250.00
- Doggie Dental for both dogs: $295.00
- Bob broke a tooth and needs a crown: $350.00
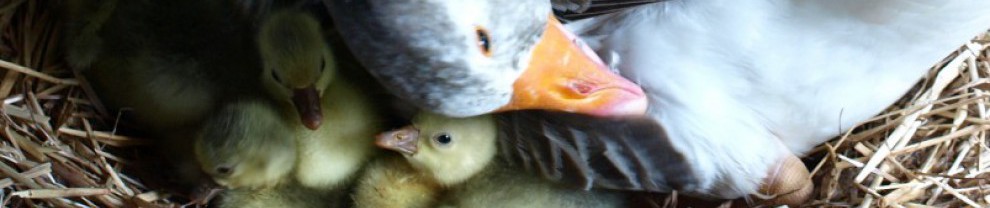
- The goslings got sick and that cost me $270.00
- The dryer broke and the repairman will want a minimum $275.00 (you know I’m right!)
$2,135.00!
Something had to give.
So this week I fired the Maytag repair man. He wanted $89.95 just to come by and give me his opinion about what could be wrong with my dryer. Parts and his labor were of course going to be extra. Oh, but wait! After his visit if I didn’t choose to have him fix the broken dryer, then he would give me a certificate for $100.00 dollars towards the purchase of a new dryer. How sweet, but…
I don’t think so!
Taking a deep breath I went to the internet to see how to “do it yourself” and found these guys!
PartSelect.com http://www.partselect.com/
And once again I must clearly state that they did not pay me for this endorsement, they were just especially HELPFUL!
At their website I was able to figure out what parts I needed just by the description of the squeak my dryer was making. They also had diagrams, charts, videos, and even other customers instructions for how to take the dryer apart, replace the parts, and put it back together.
I ordered my parts, which by the way were exactly the same amount the Maytag guy wanted for his opinion. Funny how that worked out, huh?
The parts arrived in an unmarked box. I began to feel my stomach twist.
“OK, enough of that!” I told myself. “If Rosie the Riviter, could do this kinda stuff, then I can do it too!”
So, I cinched up my big girl trousers,
rolled up my sleeves,
gritted my teeth,
tried not to hyperventilate,
and…
BEGAN.
I mean what’s the worst that could go wrong?
Gulp!

A broken dryer, my trusty cordless screwdriver and my Cup’a Joe!

Pop the hood…

Hm…

REALLY… YA THINK???
=: – O
Remove the front panel, and

GAAACK!
Ever wondered how dryer fires happen?

Yup, that felt gasket is definitely not supposed to be stuck there…

I SPY: one computer screw, a straight pin, a lost shirt button, and one dime. (must click and enlarge to play) 😉

I gathered my parts,

Assembled the drum bearing, inserted it and the new felt gasket,
ALL BY MYSELF!
Well OK, I did have a technical assistant…
What new skills have you ever challenged yourself to do?


 used drill pattern to properly space drilled holes into the frame/brace (hint, use wood blocks under two by four to prevent drilling into your new floor) 🙂

