This is installment two which I promised you in this morning’s post, and it takes place on the Mountain Farmlet. NOTE: If you are in the least squeamish, then bypass the closeups in today’s carousel!
~*~*~*~
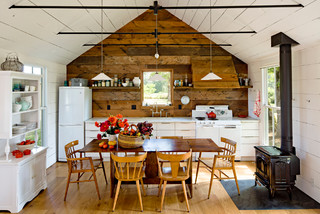
When we purchased the new to us Mountain Farmlet, we had no idea how much work it would entail. We took the tour, had it inspected, KNEW it had warts, but fell in love with the old place nonetheless.
However, we had no idea when we signed on the dotted line that there was so much hidden damage.

“We said, Sure it needs patching and painting but it looks pretty good for a house that is so old.”
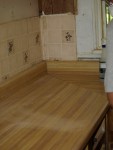
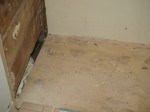
I told you about the bathroom floor, and you can see for yourself that the old place needs patching and painting. However, what we couldn’t see underneath the old paneling, paint and wallpaper was all the MOLD. Some of it is black, and some actually green…
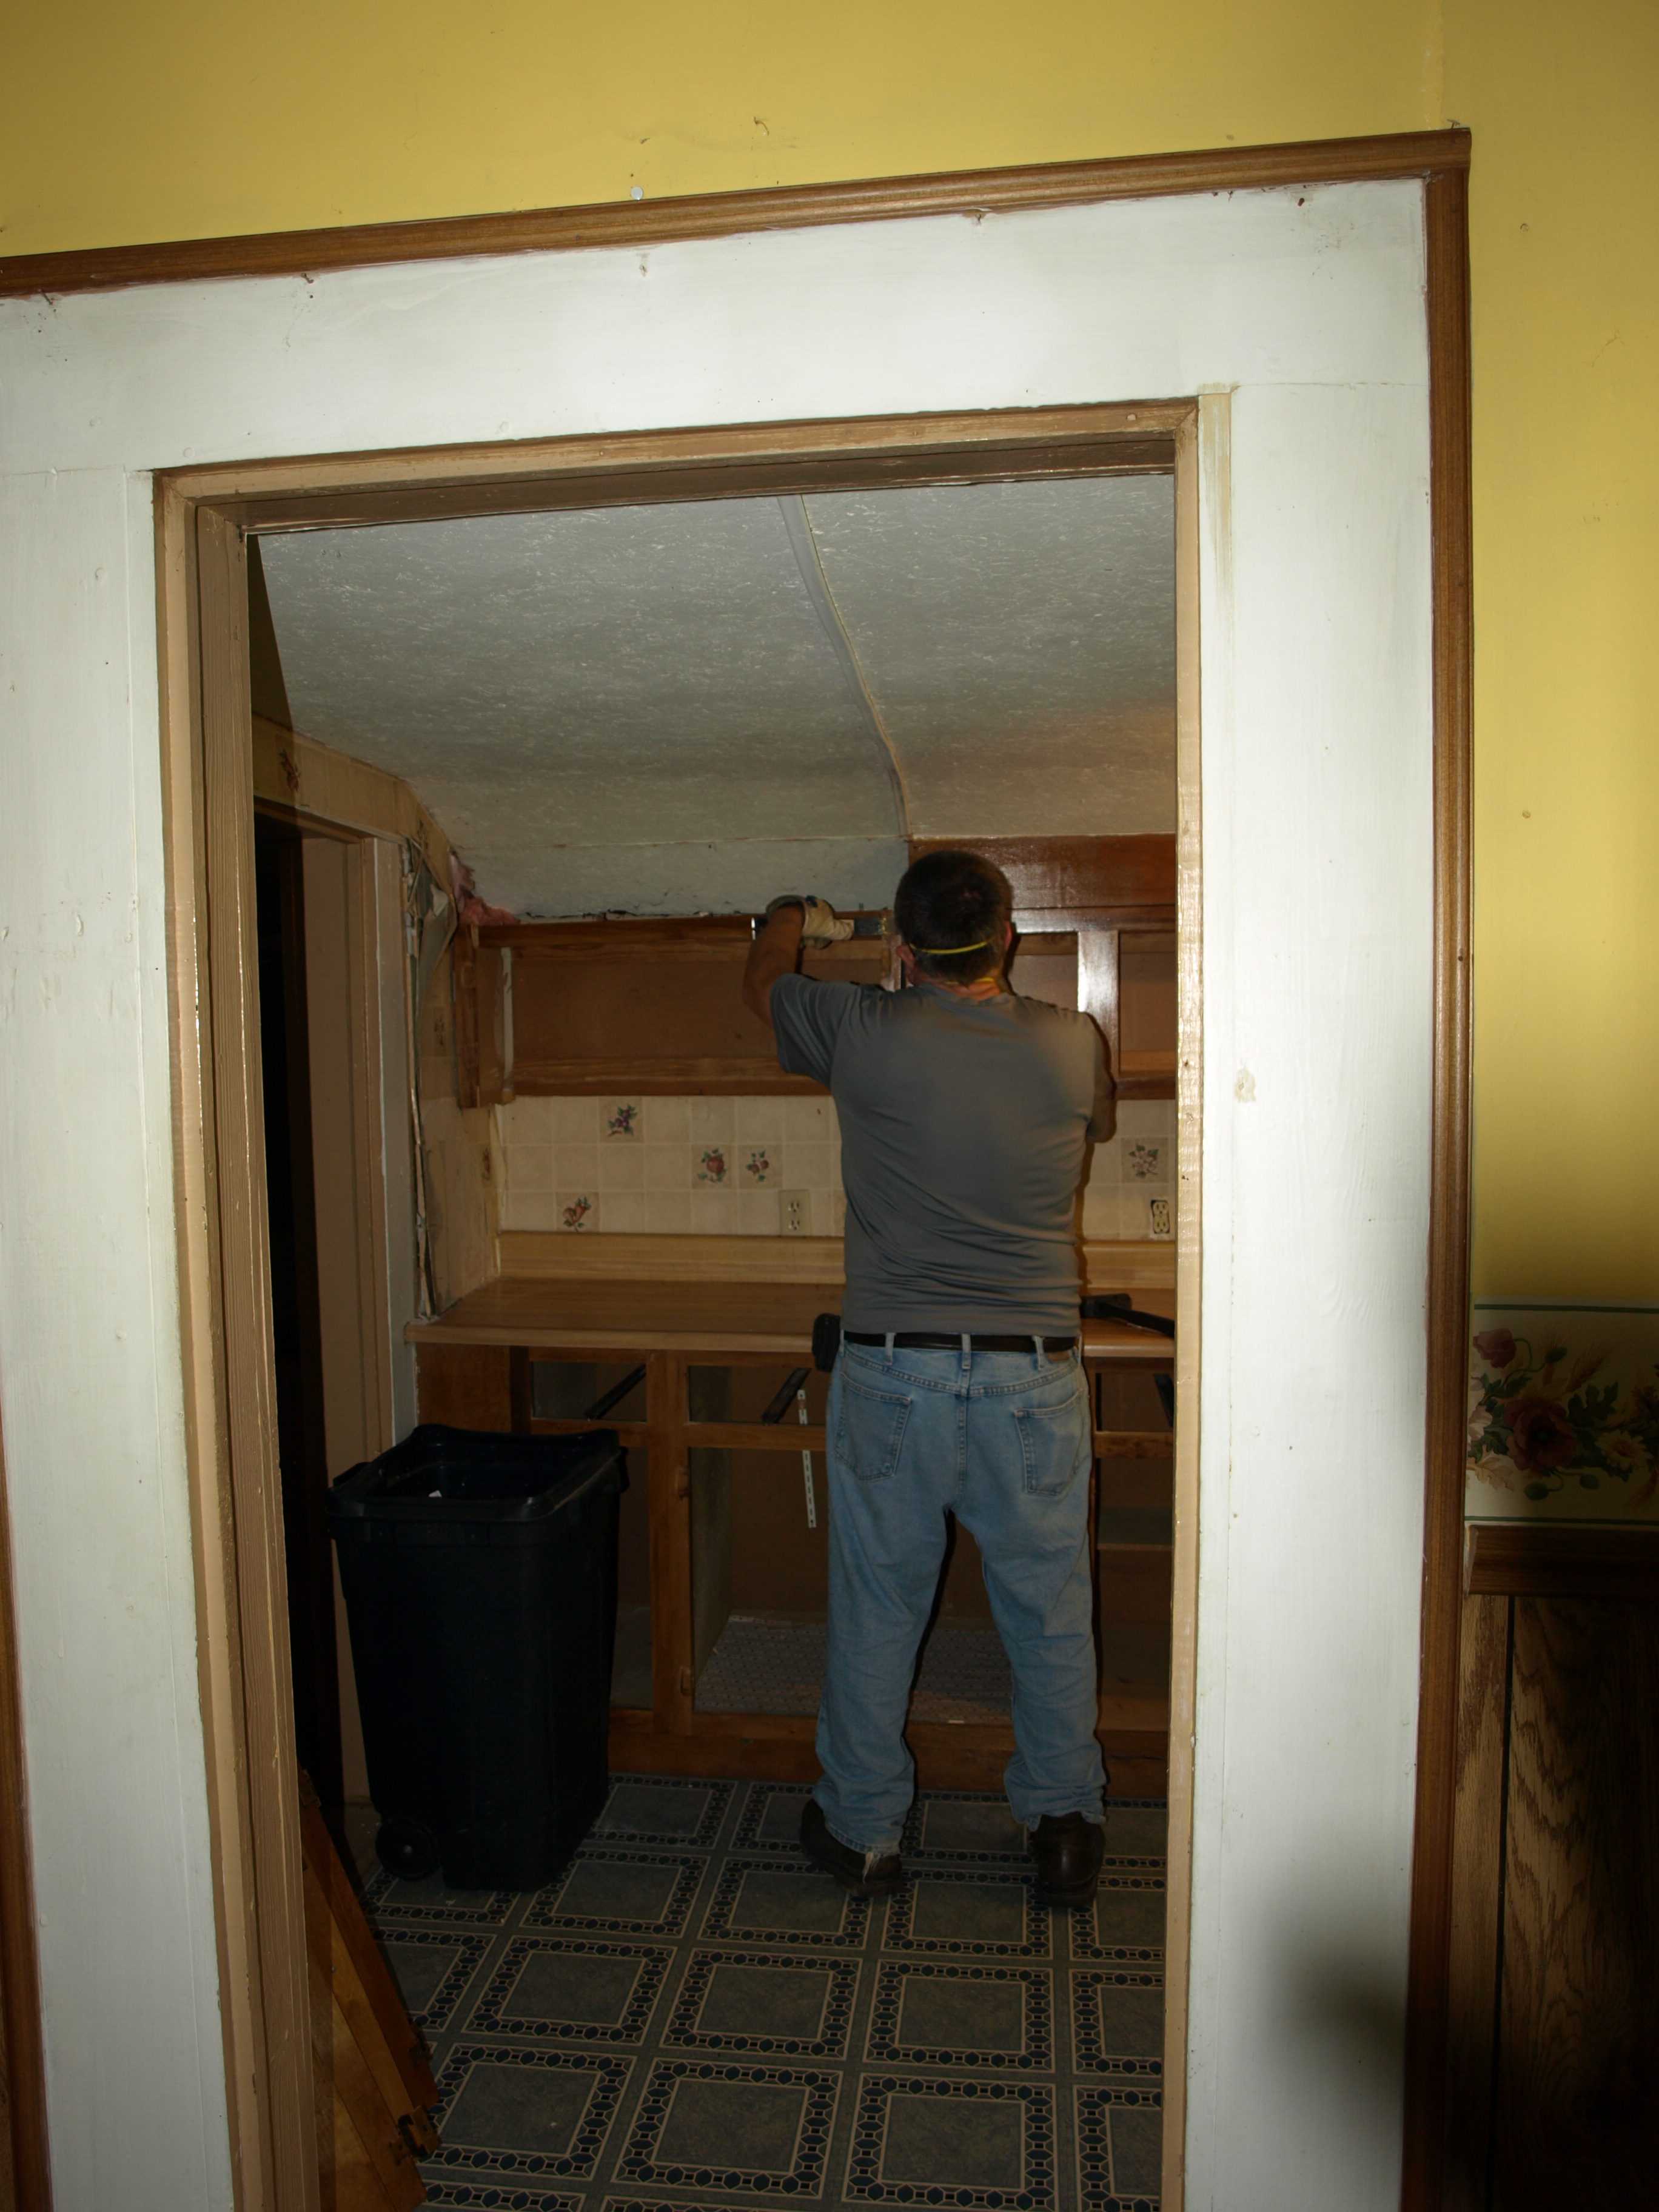
We found it when we decided to remove the cupboards and cabinets to replace the sagging and stained pressboard bottoms.
PROBLEM!
There was a section of wallpaper covered plywood installed over the left edge of the counter. To get that out we had to actually tear out the cupboards, and then remove the plywood. Had they been installed with screws instead of nails we might have salvaged them. As it was, prying on them only let the wonderbar sink into the walls behind.
Uh-OH. 😦
And so it begins…
-
- Because of the lifting counter top…
-
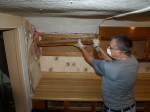
- We had to remove the cupboards to get to the plywood holding it down on this end…
-

- Removing the several damp and moldy layers here revealed termite and fire damage. Fixable!
-
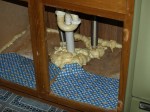
- Apparenly, mice were a problem?
-
- One of many places where the mice got in!
-
- ARGH! (I think the mice were a major problem!)
-

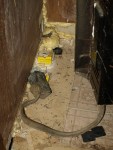
- This house has got layers: Fabric, wallpaper,1/4 inch wallboard, more wallpaper, chipboard and wood cladding.
-

- All but the wood cladding were moist and moldy. (what you see here is dust, ancient spiderwebs, and mud from old muddauber egg casings.
We have our work cut out for us. We are going to have to do all the inside wall repairs ourselves. We are not going to be moved in by Christmas. And, whether you can understand this or not, we are actually grateful for that piece of plywood that was in the way of the damaged counter top. It set into motion a chain of events that will in the end protect our investment and our health!
At this time we are now planning to remove all the wall layers in every room and to replace that sagging and deteriorating particle board subfloor! They are porous materials, and collect moisture, which has resulted in mold in the walls and a squishy floor. We will then clean and spray the cladding with a fungicide to kill any mold that we can’t see. While we are working on all this we will be thinking about what we want to put up for walls.
Actually, I would love to do this to the cladding!
However, I haven’t a clue about how to seal the cracks to keep out all the bugs and mice!!! What comes to mind involves numbering it, carefully taking it all down, applying a barrier (but what kind???) and then reinstalling the cladding
If you have done this before, then I would greatly appreciate your advice as to how this can be done.
😀
NOTE: About that bulldozer in the title, well, you do know I was kidding right? 😉