
It is nighttime, you have locked the doors and turned out the lights. Teeth brushed, jammies on, you are tired and ready to sleep.
Laying your head back onto the pillow, you pull up the covers and try to relax to sleep. The house is dark, your breathing slows and then you hear it. Sometimes it is in the kitchen, sometimes in your bathroom, but wherever it is you will not sleep until you silence that annoying and rhythmic
drip
drip
drip!
There is simply nothing so annoying as a leaking faucet when you are trying to sleep. You may try several methods to temporarily silence the leak, but sooner or later you will have to call the plumber and that my friends is expensive.

Those of you who have known me for a while know how I feel about paying a repairman to fix appliances. Especially when they want to charge $75 to $80 dollars just to give you their opinion about what may be wrong. Really? I would much rather spend that money on parts and do the job myself.
And so it is that I have challenged myself to fix that crazy making, sleep depriving leaky faucet in the shower! It wasn’t so bad in the beginning, but over time it has become unbearable. I have armed myself with Delta’s and others Youtube videos, gone to the Delta website to find the right part, and spent over $20.00 to buy a strap wrench that I may only ever use once. I know that sounds crazy, but I reasoned that expenditure out like this:
The strap wrench – $20.00
The Delta replacement part – FREE (a “$50.00 value on Amazon” [list price $86.00])
Total – $20.00
The plumber plus the part – $150.00 to $200.00
I’m goin’ in!
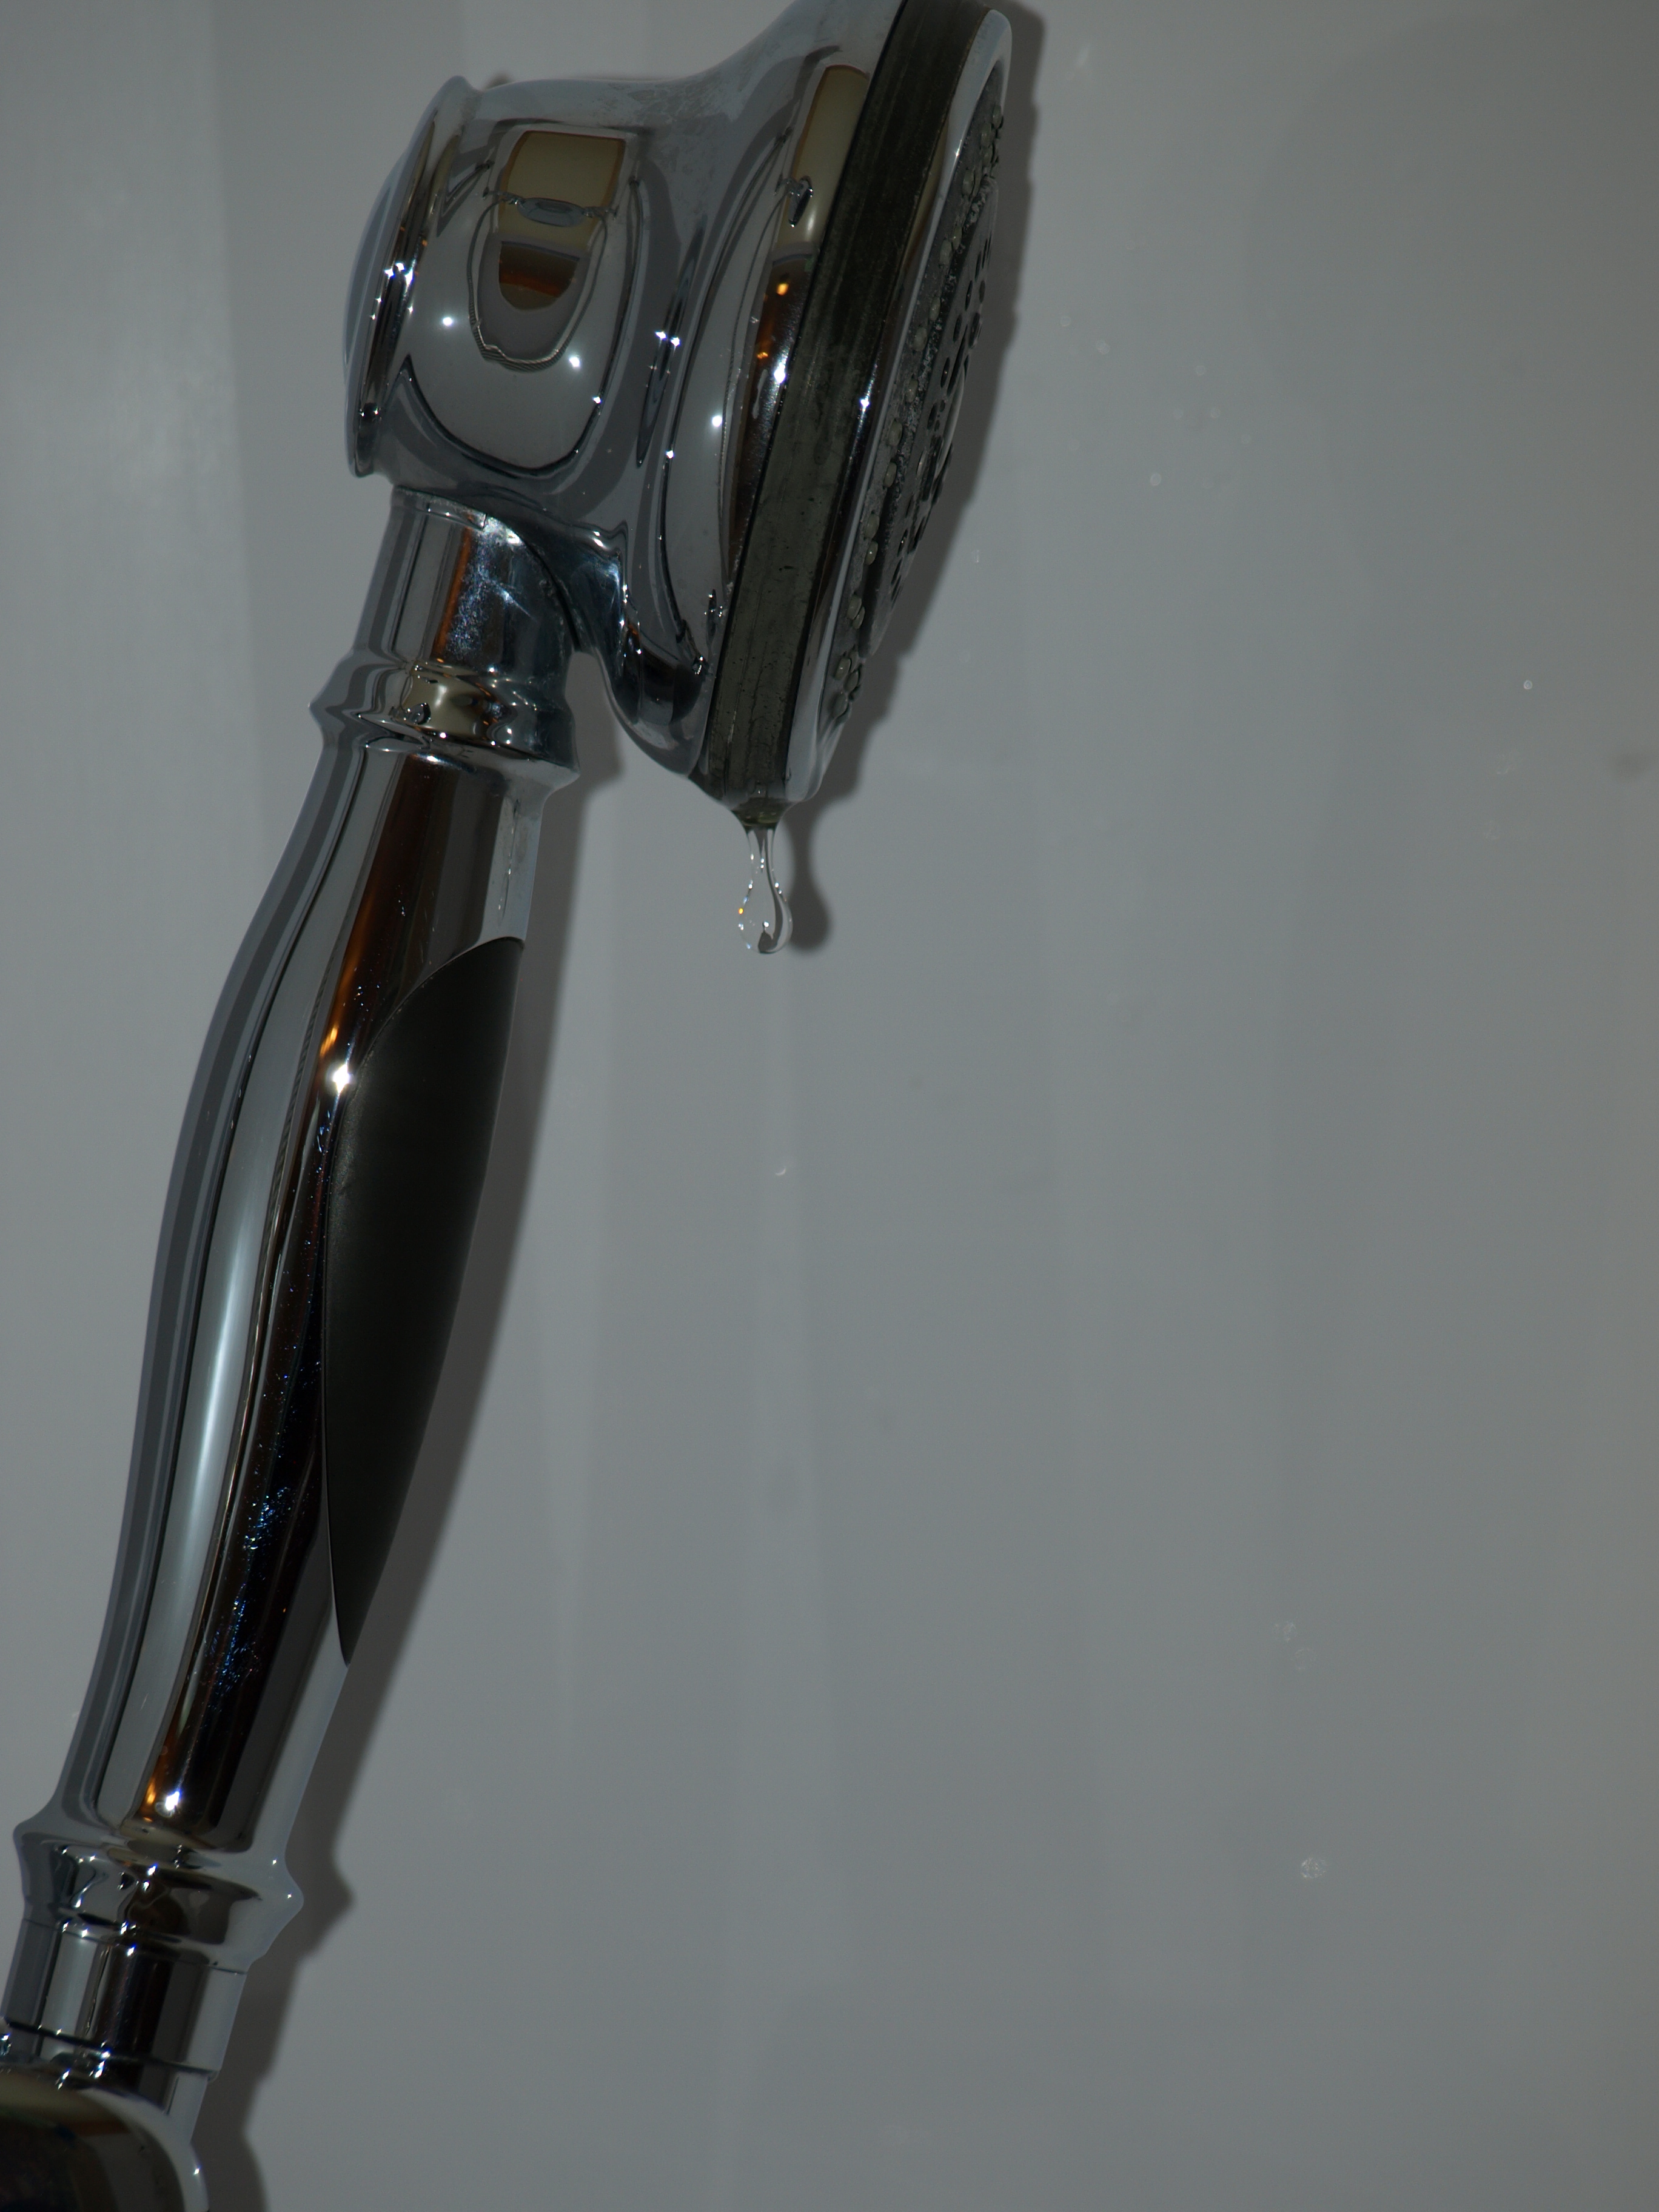 The offending drip!
The tools:
- Manufacturers instructions included with the part
- One Phillips head and one blade screwdriver
- One pair of needle nosed pliers (not indicated in the enclosed instructions, but absolutely necessary to remove the old adapter assembly!)
- One [way smaller next time!!!] *new strap wrench.
Following these instructions it was mostly easy.…
 Trust me, the enclosed instructions are lacking some steps. If you should want to try this at your home, then watch the video. A couple of times.
The first and most important step in this procedure is to turn off the water to the house, and then open the faucet in the bathroom sink and the shower to release the pressure in the pipes. Now I am ready to begin! 😉
Cap off, remove screw, pull off lever/handle, slip off chromed sleeve, use strap wrench to loosen the valve bonnet nut (TIGHT) remove old valve, and then reverse the process to put it all back together.
Old parts out, new parts in, and
DONE!
 Old parts
Thank you Delta for your free replacement cartridge, and for the online audio visual aids!
*If I had watched this video before I went out for the strap wrench I would have known exactly what I needed! 😉
~*~~*~*~
Now if only I were younger, less stiff and more brave, why, I could save us thousands by doing all the new plumbing on the Mountain Farmlet!
And…
This leads into today’s second post…
Stay tuned!

Good for you! And the tone of cheerful optimism made it even more fun to read. I can’t wait for part two!
Thank you Linda, but part two is on the Mountain Farmlet, and is, well, you’ll see… 😐
I admire you! I have FD – who does it all. I rarely have to tackle anything myself. You amaze me with all that you know… and if you don’t know, you research and figure it out! Bravo to you Lynda!
Blame it on my Dad, Lori! He made me an honorary GO-PHER for many of the “do it yourself” jobs around home… Even my first car. It was a clunker he bought from a friend of his, and I had to get under there and work before he would teach me to drive!!! I got greasy, and worked very hard on that old boat of Thunderbird! 😉
You astound me, amaze me and inspire me each time you take your appliances on! Well done you 😀
Thank you, Annie! But just wait till you see what WE are up to in the next post…
I don’t know if we are astounding or just plain crazy! 😉
Just read the post and the jury is out!
>>>Focus on a small room, like the laundry room and fix it up b/c it will go fast.. and then you’ll have one area ‘finished’ and you’ll feel good about what you’ve done. .. then say, ‘next…’<<<
Lisa, This is Bob's plan! I think it is a good one. Thanks!
OOO yes, I HATES the drips! I do know exactly where you are coming from, Lynda. Needle nose pliers are one of the most wonderful little tools ever invented. Have fun exploring new territory. 🙂
I really can’t think of anything worse than drippy faucets for keeping you awake at night, Eva. LOL! We are spending money like water of late and I need to save where I can. Right?
yahoo! who needs expensive repairmen/women?!!! i remember my first ‘plumbing challenge’ – long ago in my other life in mississippi, i was on my back/head in the cabinet beneath the sink, wrenches in hand — when my son and a friend of his walked thru the back door. ‘oh, um, joel, this is my mother,’ chris said, and was probably beyond embarrassed!
i am so glad that i, like you, thought, ‘i can do this myself!’
i now do almost all of my plumbing.. costa rica made me into a much-stronger person, and i do the waterline repairs better than most of the workers!
i look forward to part two!
Lisa, when are you coming back to visit the states again…?
(read part two now, LOL!) 😉
hey
i did read it, and it sounds like a fun challenge to me. i SO wish i could be there to help you! i actully thought the spray foam beneath the kitchen cabinets was clever! i’ve not thougth of that, and i used spray foam last week to seal some gaps between boards that had shrunken with time and there are cracks where blowing rain comes thru and trickles down. quothe the raven, nevermore, i hope!
i rather like the floor in the kitchen! is that new? you can work with that if it ‘s not new.. it looks pretty and is a good color that won’t show soil or dribbles of flour from making biscuits or frying okra!!!! what are your favorite colors? do you have anything you collect (many people do?) etc.. i have a reason for these questions.. my right brain is in manic phase! z
The trick with spray foam is like the old Brylcreem add: “A little dab’l do ya!”
The floor in the kitchen looks relatively new, but it will all have to come up so we can replace the sagging subflooring. 😦 So I really haven’t decided what I will put down in there just yet. I’m saving that decision for when we get done with walls and the new subfloor. Sheet vinyl will probably be what I can afford when we get there. What do I collect? Tiny vintage/antique dolls, wooden spools, too much quilting fabric, buttons, and tea pots. In nature I collect feathers, egg shells, sea shells, pretty stones, butterfly wings, and pressed flowers. But really, with natural things I try to create an environment that invites the bearers of these gifts to come for a visit and want to stay. Know what I mean?
yes, i try to do the same with the garden plantings, though this garden is taking longer, thanks to the goats and to many months w/o rain each year. i try to give the plants a sink or swim attitude, no delicate fair beauties for the garden when i sometimes am away for months w/o returning!
That is what I had in California. That is what I want here. New locale, new natives to learn, new gardening habits to hone… 😉
ps.. i was looking at the photos again.. historians/preservationists would enjoy seeing samples of that old fabric! the kitchen looks like it was added on? my mind is racing!!!
That kitchen was only one of the add ons, Lisa. First the cabin, then the second room on the right front with a dogtrot between, then it was
enclosedencased and then the back rooms were added on. (Kitchen, Bath, and a small ‘keeping room’)it sounds like a house from a nursery rhyme!!!
it surely has a great soul, and it’s going to have a really great soul when you two are finished with it!
Or so we hope, thank you, Lisa!
LOL! You said “strap wrench”, and I thought “pulling oil filter”, “opening jar lids”…
So at least it wasn’t a total waste then, hey? (Besides, don’t know about you, but never met a (new) tool I didn’t like; )
Said it before and I’ll say it again… “You GO girl!”: )
Thank you, Deb, I will be “GO”ing for some time to come I think. 😀
About your “What to put down for now?” flooring dilemma… When my parents’ Farm was undergoing its renovation(s), the plywood subfloor acquired a couple of coats of urethane (and stayed that way for years; )
I have seen this done, Deb. Another option would be to paint the floor and then seal it with several non yellowing clear coats! I may just do that and leave it that way!!!
Yup! Either way works – plus a LOT more durable than vinyl and much more cost-effective! : )
Well done.
Thank you, Tom! 😀
You amaze me!
Why
Why? Somebody has to do it. 😉
Thank you, Julie.
Nice work! You give me confidence to try new things.
Thank you, Patti, I hope you do and then post about it too!