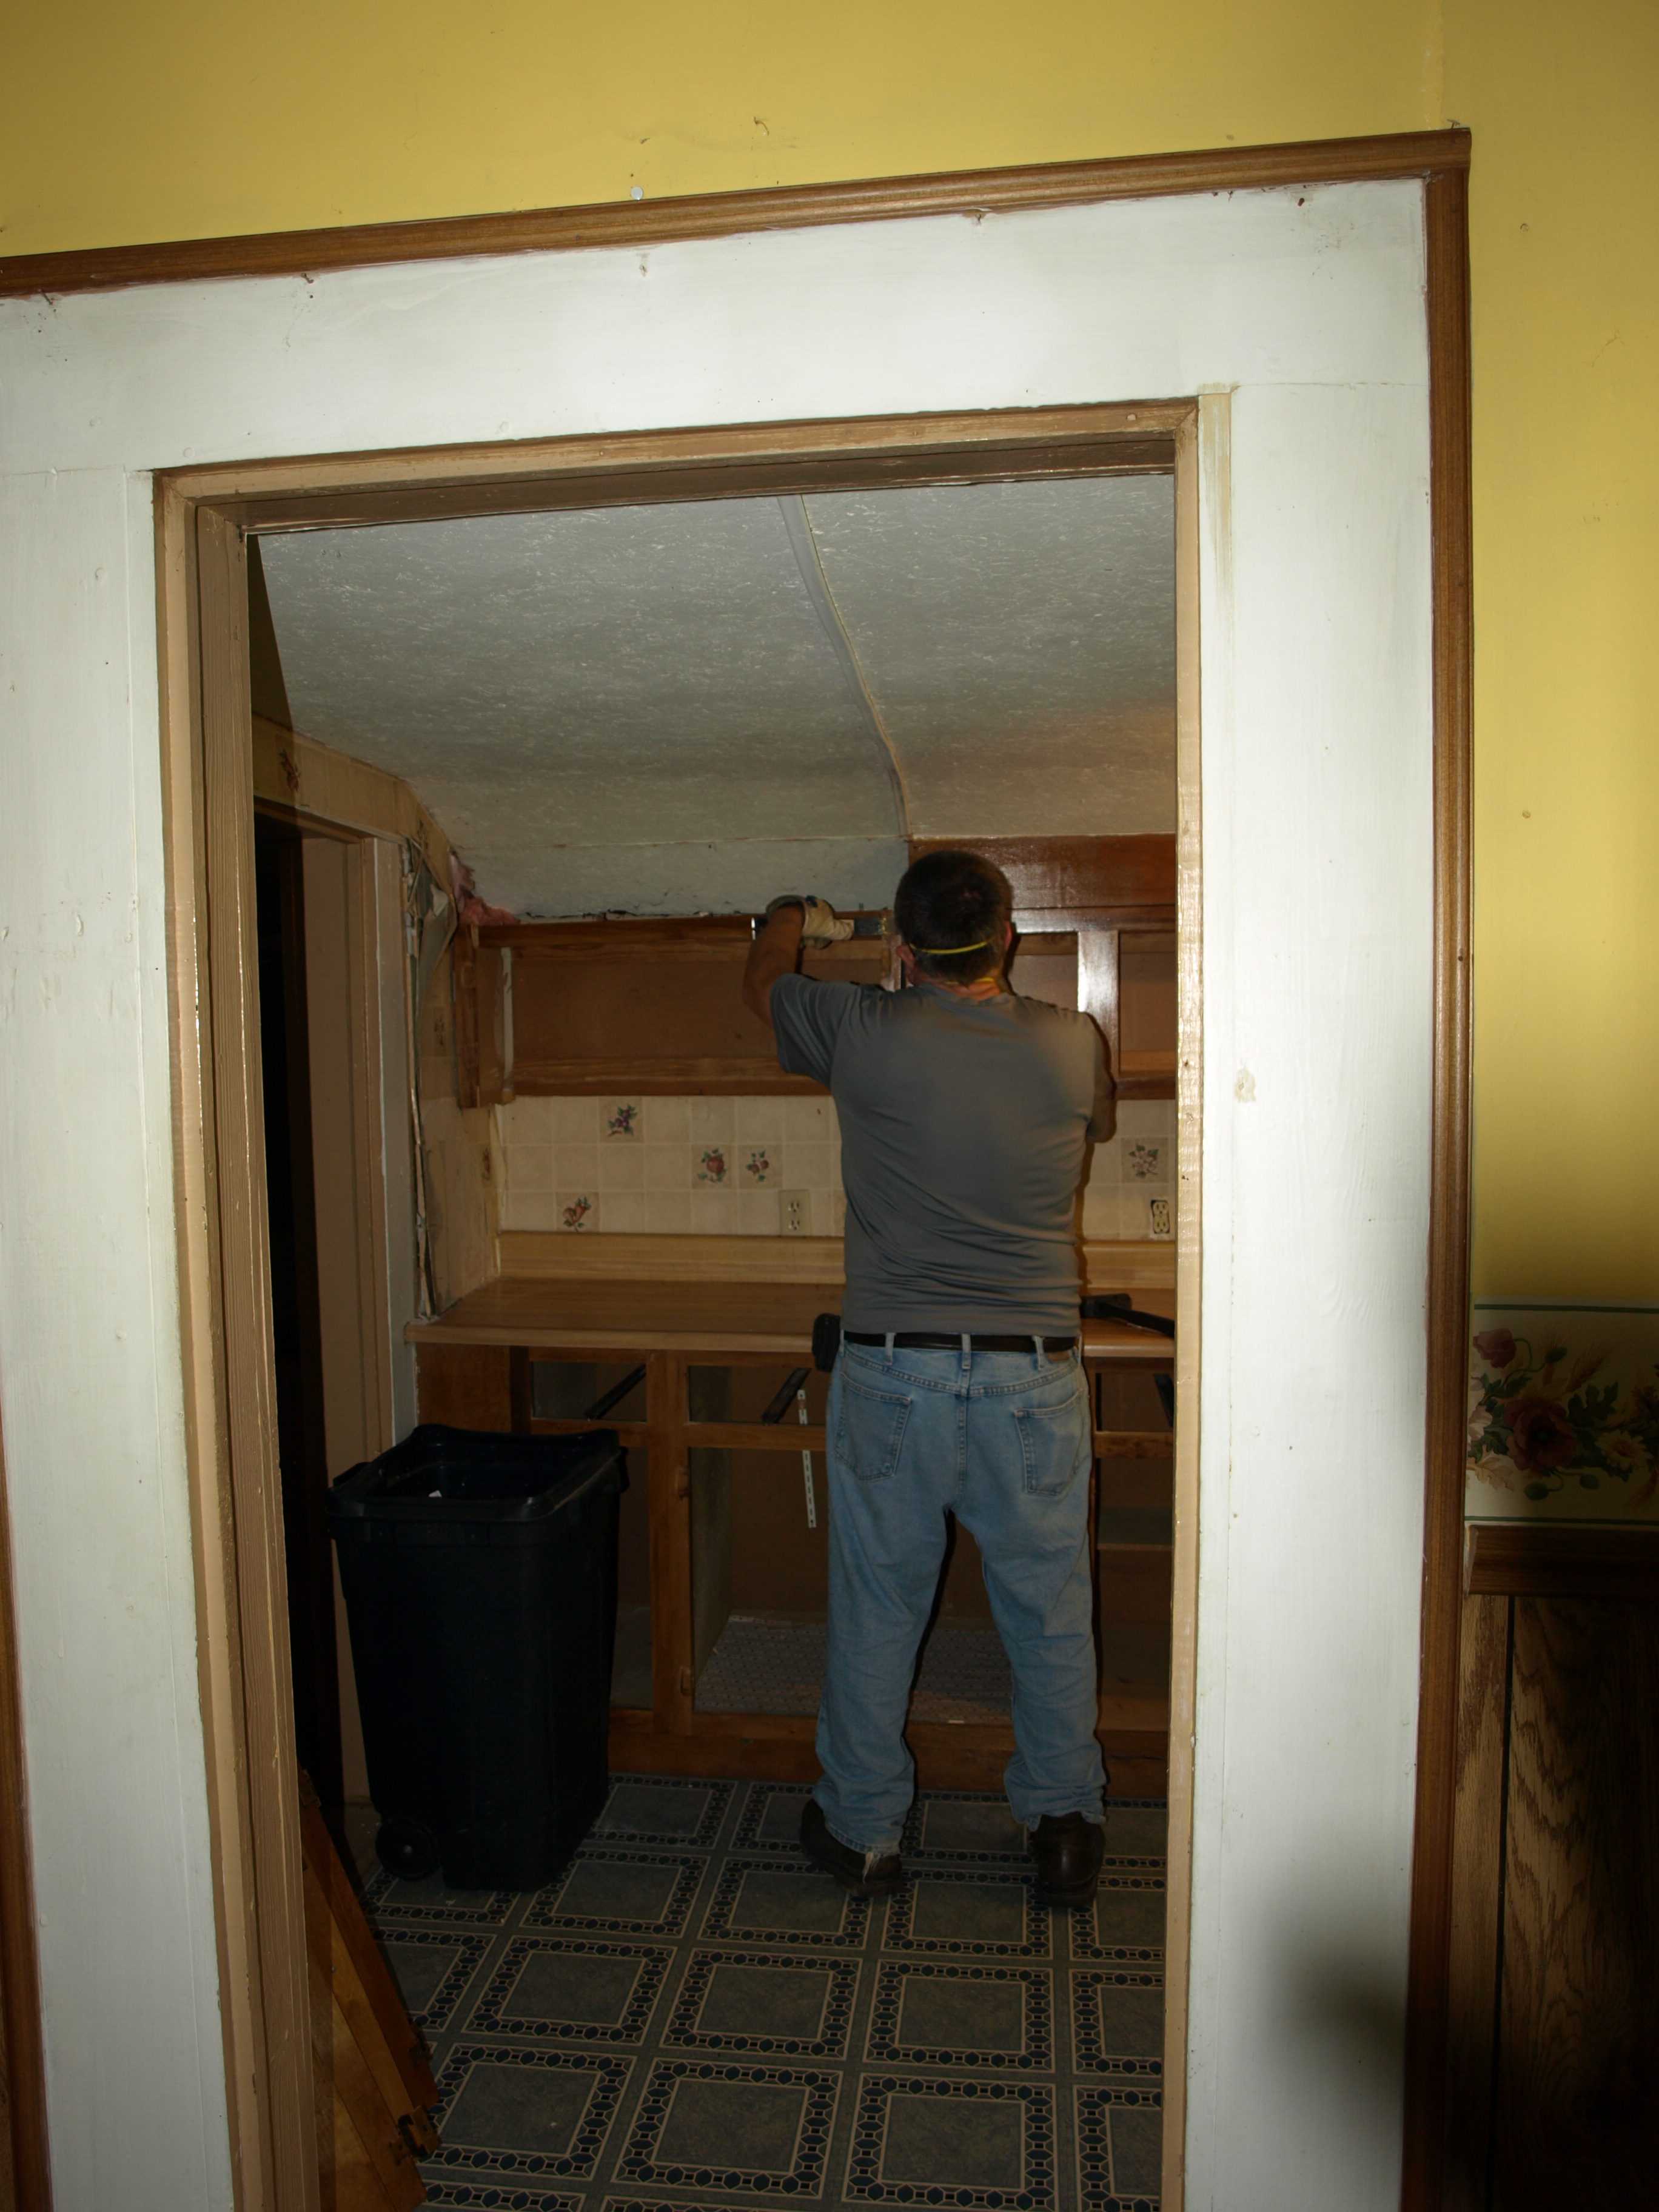
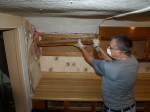
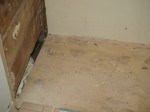
You will recall from my last post, that we discovered dank and damp wall coverings in the kitchen. What we had presumed would be a fix and refurbishing job was suddenly turned into a gutting of the entire kitchen.
Which, by the way, I feel bad about. I suppose I don’t expect anyone to understand this, but when we first toured the Mountain Farmlet and met the Octogenarian, we had promised her we wouldn’t remodel.
That snippet of the conversation went something like this:
Octogenarian, “… and when you remodel you can…”
At which point we both cut her off and said, “NO, we like it as it is.”
You should have seen her smile.
It was, and still is our ethic that if you buy an old home, then you should like it for what it is. Don’t go in with the thought that you are going to tear down walls, put in modern decor, or pretentious contraptions you really don’t need in a house that is almost one hundred years old on one end and two hundred years old on the other.
And yet, if it is broken or unhealthy we understand that you must fix it. And so it is we find ourselves faced with an unforeseen and expensive job on our hands. Oh, by the way, the old place needs a new roof too, but we guessed this much before we bought it. Let me explain.
Did you know that if you fix the foundation under your home that the movement in leveling it will travel up the walls and right into the rafters? Think of it like this:
Stand with one foot on a stair or curb and try not to let your knee bend. What just happened? If you don’t let the knee bend, then your back wants to bend to keep you upright. Now think about that roof. The sides of the structure are not going to bend like your back did, so all of that new stress follows up the supports of the structure, and ends in the rafters and braces. Hence, leaks are going to happen.
And they have, as we knew they would, but we went ahead with the work, because it simply had to be done. However, what we didn’t expect while all this was going on was to have one of the wettest summers in the history of N. Alabama.
And, friends, we have leaks.
We are meeting with the roofer to sign on the dotted line on Sunday afternoon. Nice roofer! He knows we’re only there on Sundays and that it is a two hundred mile round trip for us. This flexibility will allow Bob to be a part in the picking out of tin roof color and signing on the contract too. 😉
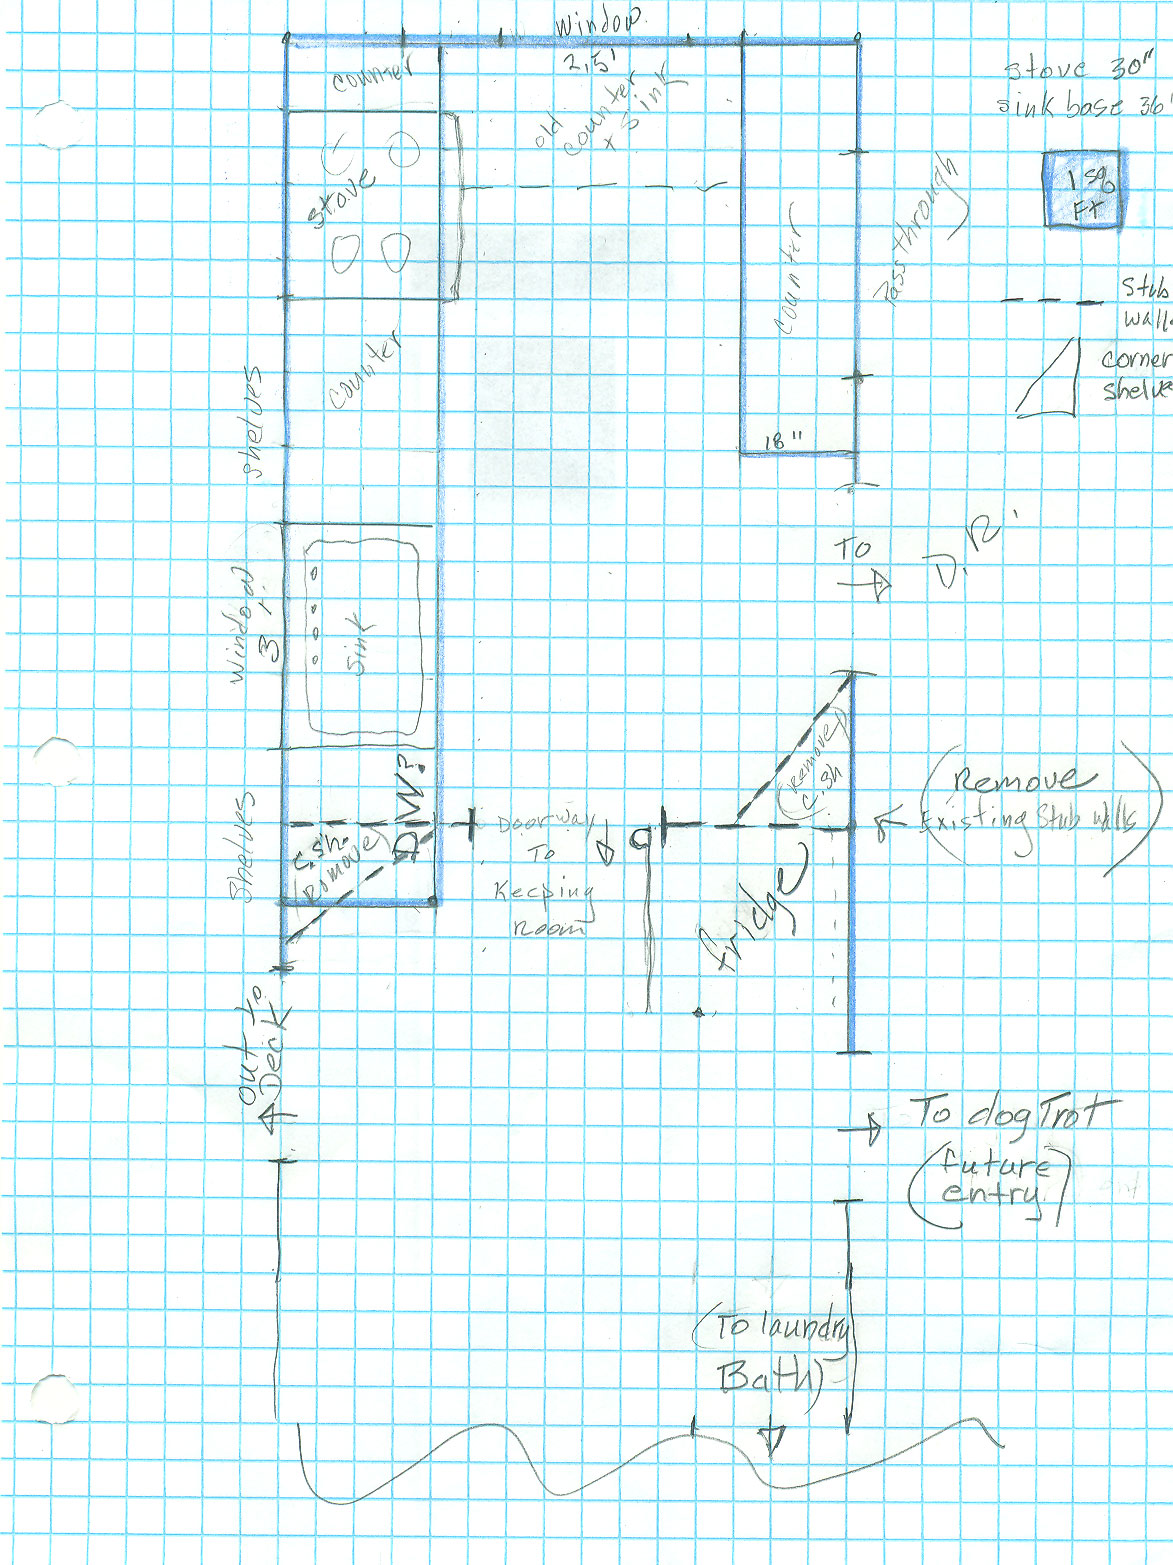
Now, tomorrow we will finish gutting that kitchen and the little keeping room. We were told by the foundation man, that the little passage wall between them is non load bearing and so our plan is to remove it. This will give us a nice Galley kitchen.
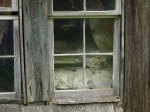
I had wanted to do this with the wood battens:
~*~
I can think of no feasible way to seal them from the outside elements. As well, the location of our new home will absolutely not let us. Located in the country, and on a farm, we are surrounded by rodents. There are also brown recluse spiders, *mud dauber wasps, and snakes. So unless we completely seal the walls on the inside, then it’s a fact of life that these creatures are going to find their way in.
No thanks!
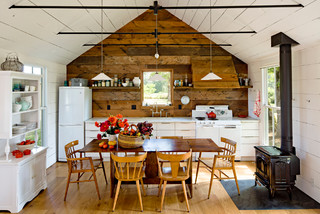
And this brings me to the planning stage of the new kitchen that I want to look very much like this:
 I found this on the “This Old House” [TOH] website and you can view the complete article by clicking on the photograph.
Now of course there are concessions to be made, and bargains to be struck, such as, Bob wants a dishwasher, and I want more cupboard space. 😉 And their will be tweaks to this layout, such as, we will have to add that window over the sink, and I want the stove over by the sink line up on the left side of the room. Also, I will not be getting that lovely apron sink, or the new vertical wood planking on the walls, or the stone counter tops, or even those lovely custom-made cabinets!
My version will be: A stainless one bowl, drop in sink; Formica counters, and the cabinets will be our version of functional storage purchased and retrofitted from the Habitat Restore. Oh yes, and the walls will be wallboard , thanks to Bob Villa’s handy tips for installing it with a sealed backing on those outside walls.
I am toying with the idea of a pass through opening on the wall to the dinning room. The dining room is a bit dark on this side, and there is no useable space for a new window in there. It is my feeling that some of the light from the kitchen windows will pass through and light up the dining area nicely! Indirect light is better by far than no natural light in a dark corner of a room. Agreed?
Playing around with my ideas, which are based on that lovely TOH plan has brought me to a very rough rendering of our future kitchen:
 I am no draftsman, and please note that four blocks = 1 sq. ft.
We have a very tiny kitchen!
With no further bumps along the way, putting a monkey wrench into the works (yeah right) then this is to be my general layout.
However, we shall see how it all plays out. 🙂
~*~
NOTES:
That outside door in the keeping room is definitely slated for an upgrade and may require the services of a professional. It is original to the structure, but it has to go! (Due to its vintage status it will be saved and repurposed.)
Why?
I am getting tired of hearing grown men groaning and swearing when entering and exiting a 5 foot 6 inch door!!! 🙂
~*~
*Mud Daubers: It will take some time… but those mud daubers are going to find it increasingly difficult to gain entry into the walls from the outside. I have never seen so many of them in one place, and their stings are bad! It took three weeks for the lump on my upper arm to go away. 😯
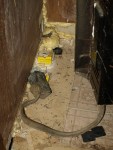
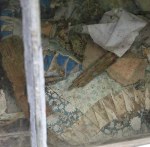
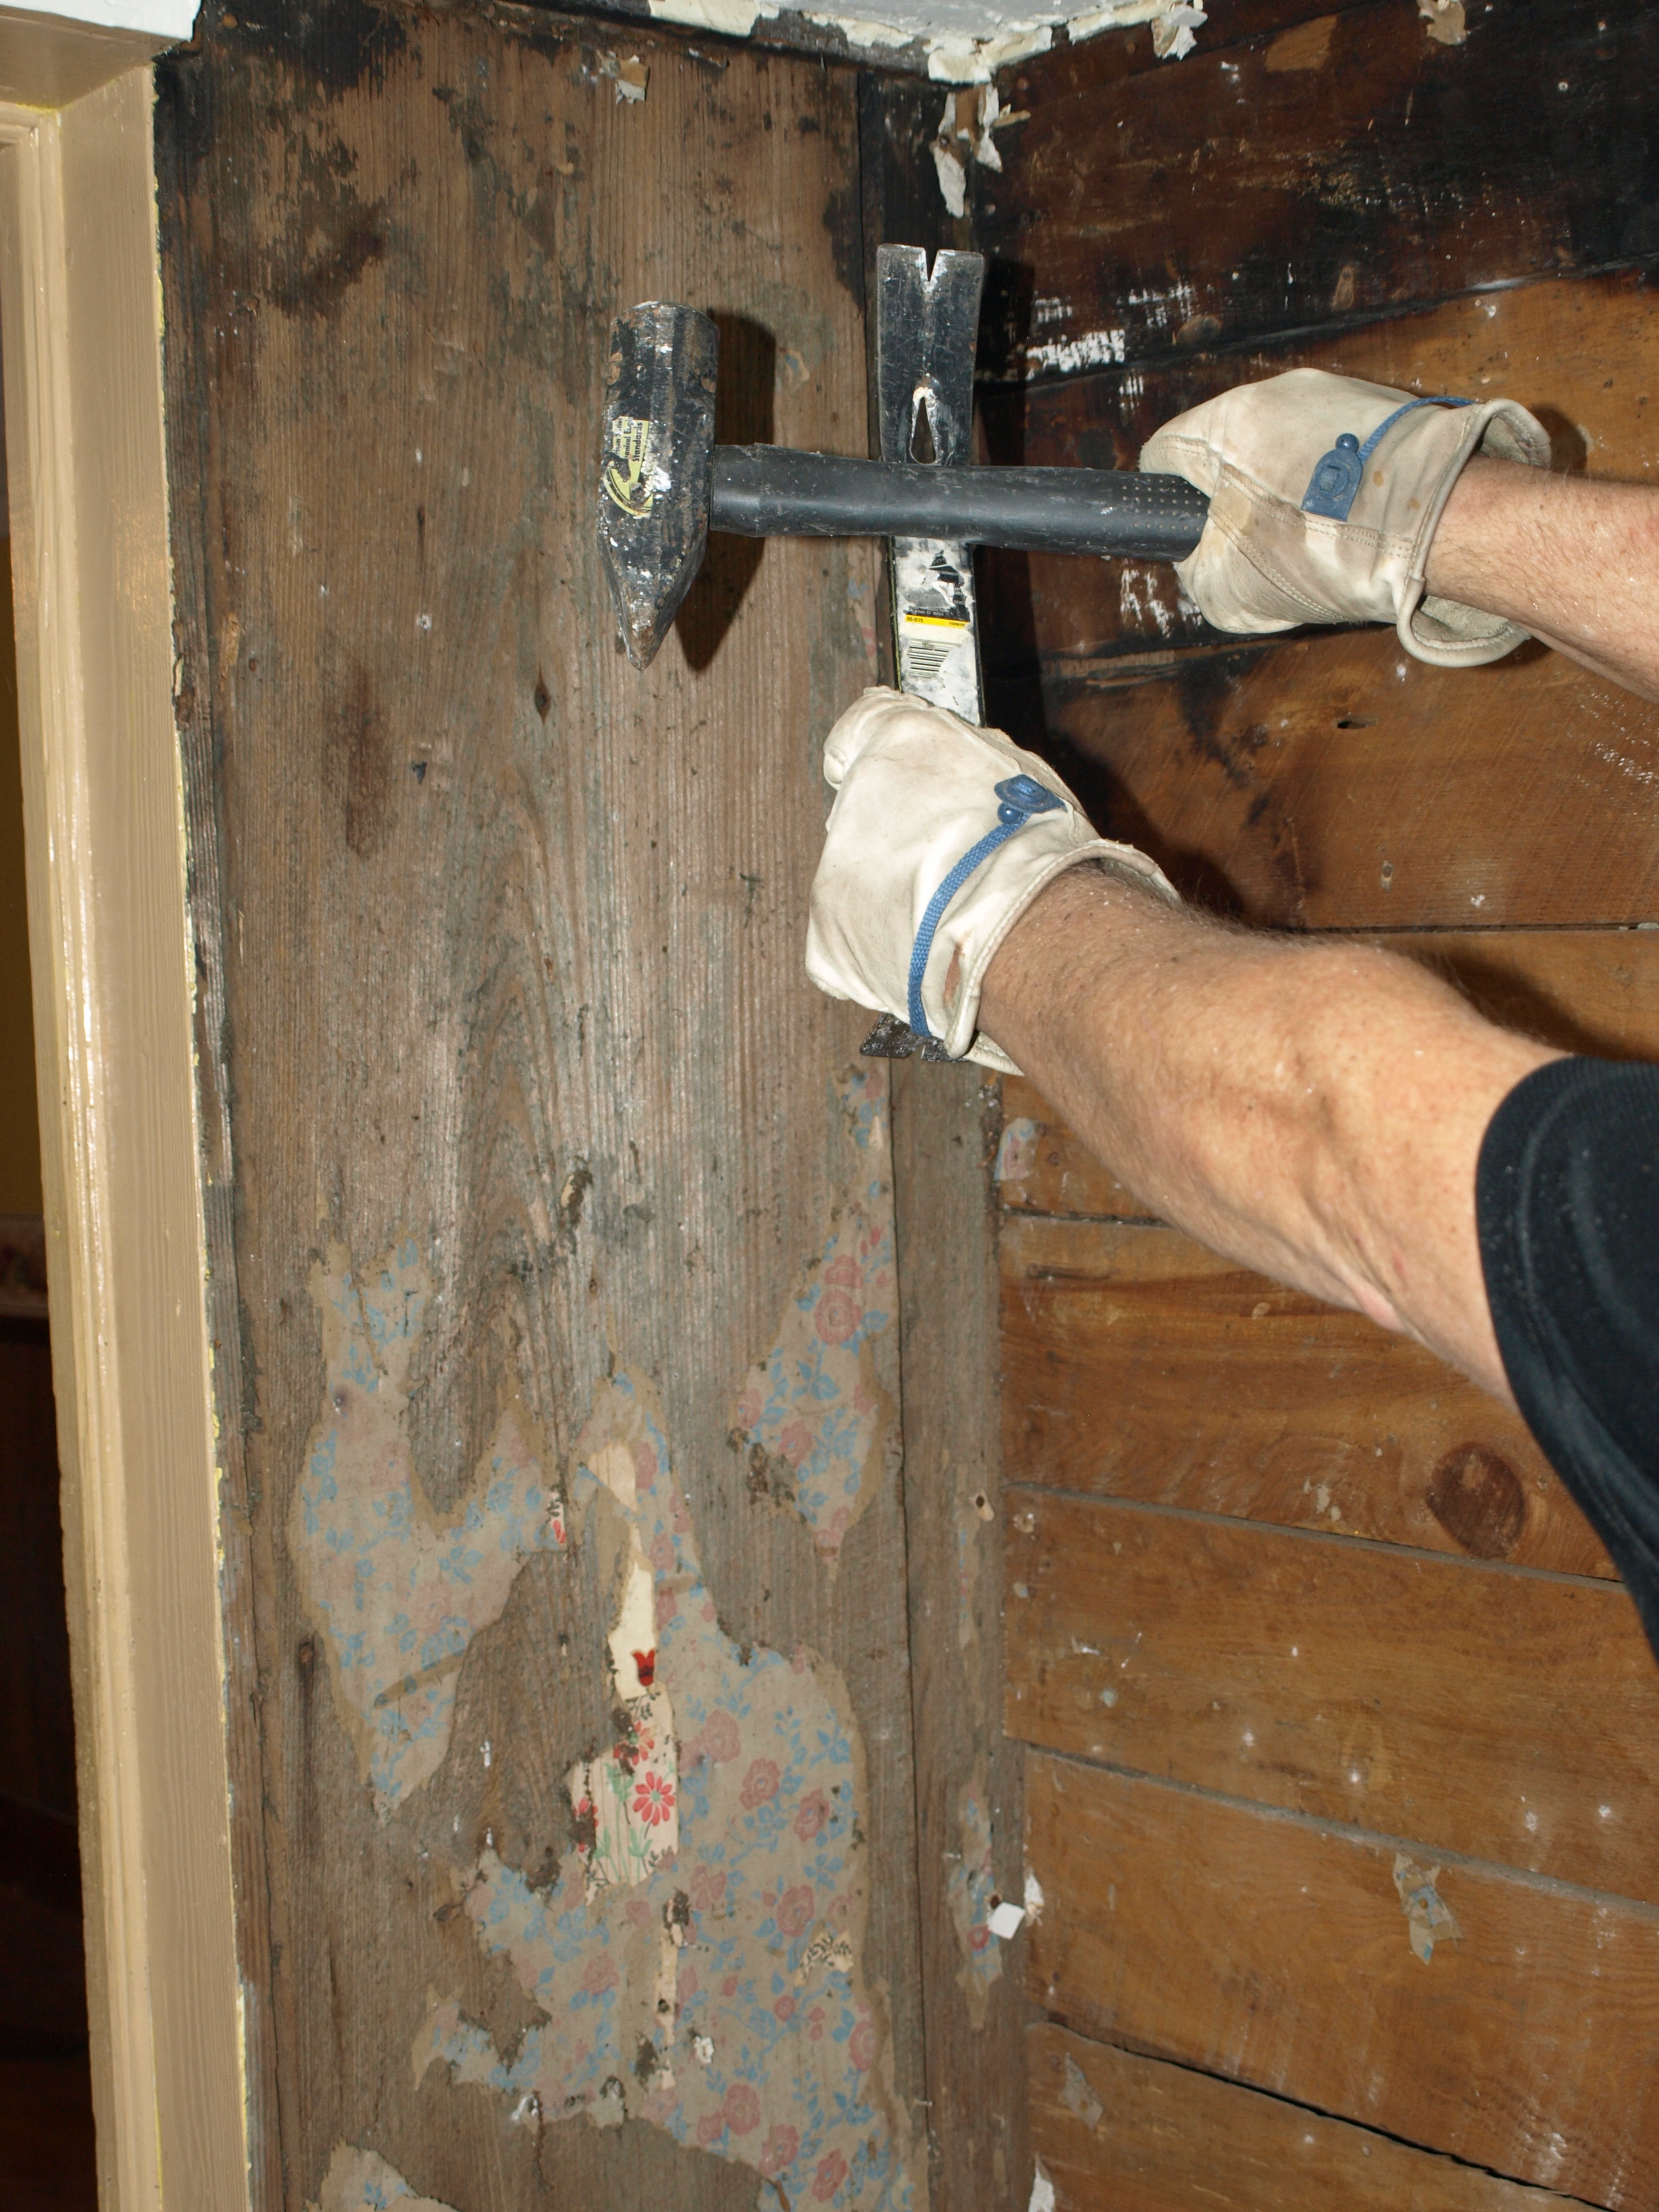 And you may want to heed Bob’s visual warning before viewing the rest of yesterdays discovery work
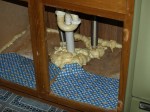
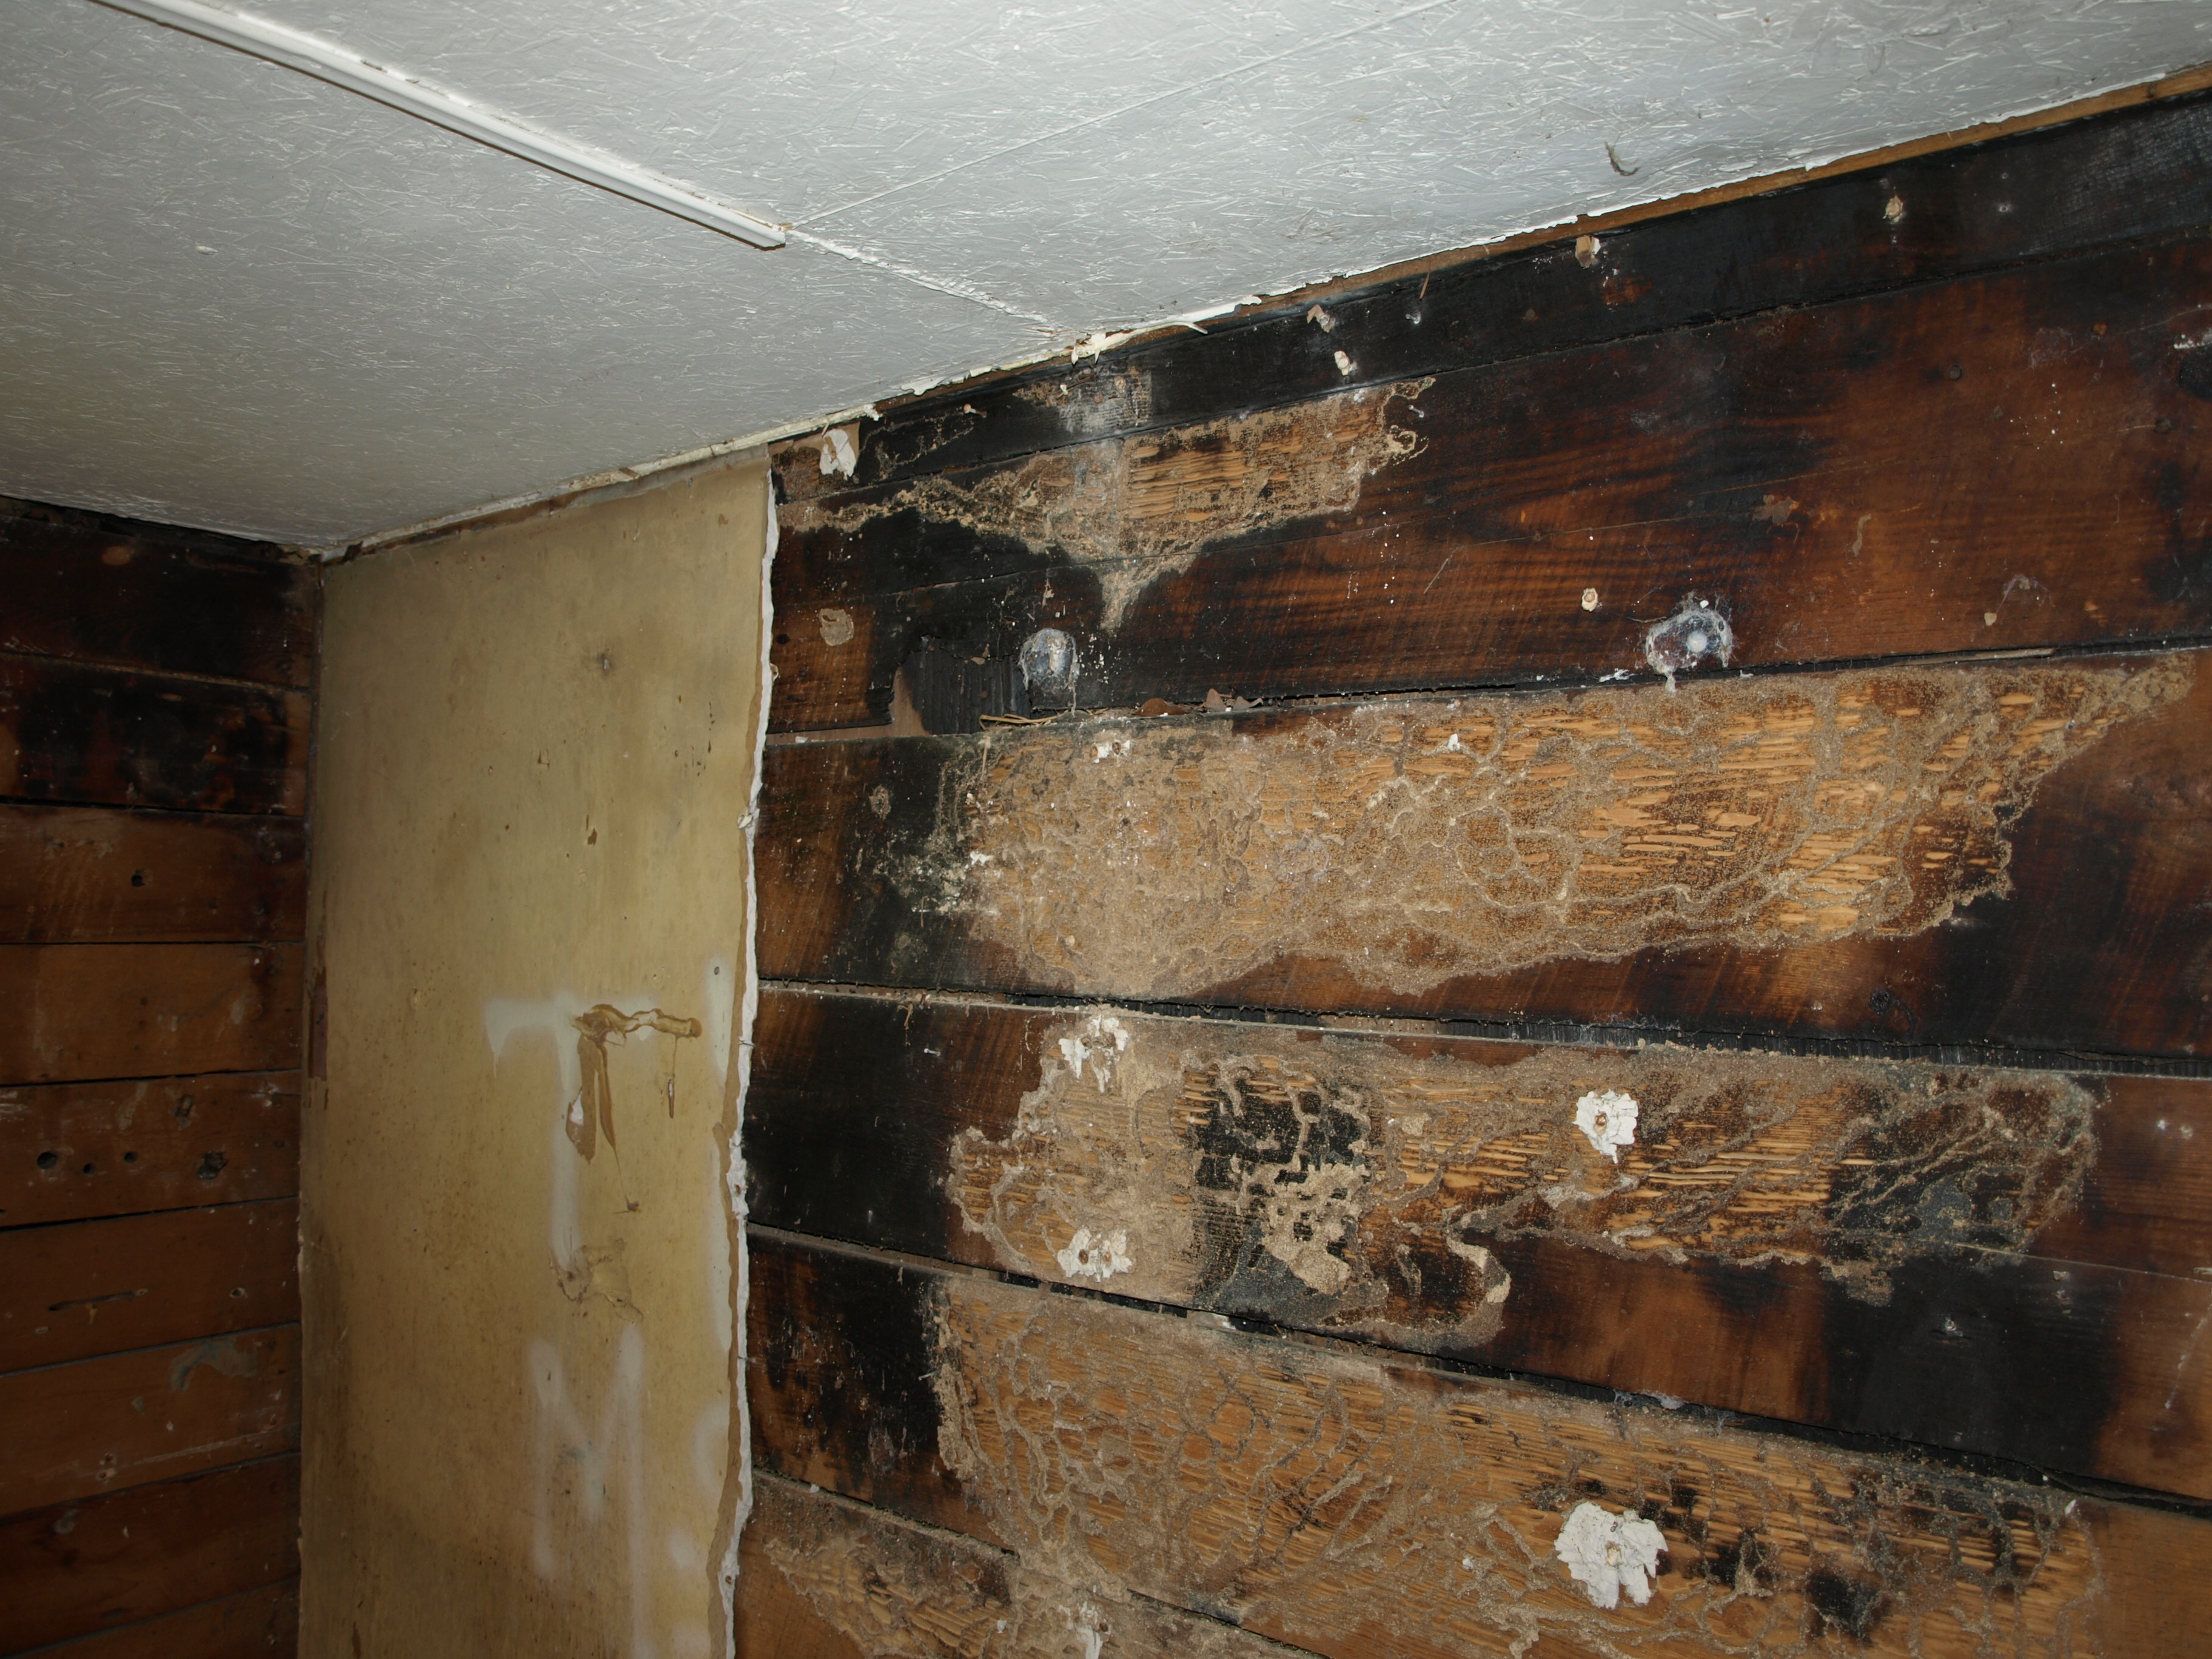 Well apparently, the fire was not contained to that one spot!
 It is the mud tubes from subterranean termites.